Chapter 19
Digital signatures
The Digital signatures section of Settings turns on four features. All of them are off at first, and nothing changes until you set them up.
- Version signing: lets anyone check later who saved a version.
- Approval signing: lets anyone tell who approved a draft, even if the record is edited afterwards.
- PDF signatures: lets PDF viewers confirm that an exported PDF has not been changed and who signed it.
- Seal and signature images: places a seal or handwritten signature image in the signature block. This is only a picture, not a cryptographic signature.
Signing versions
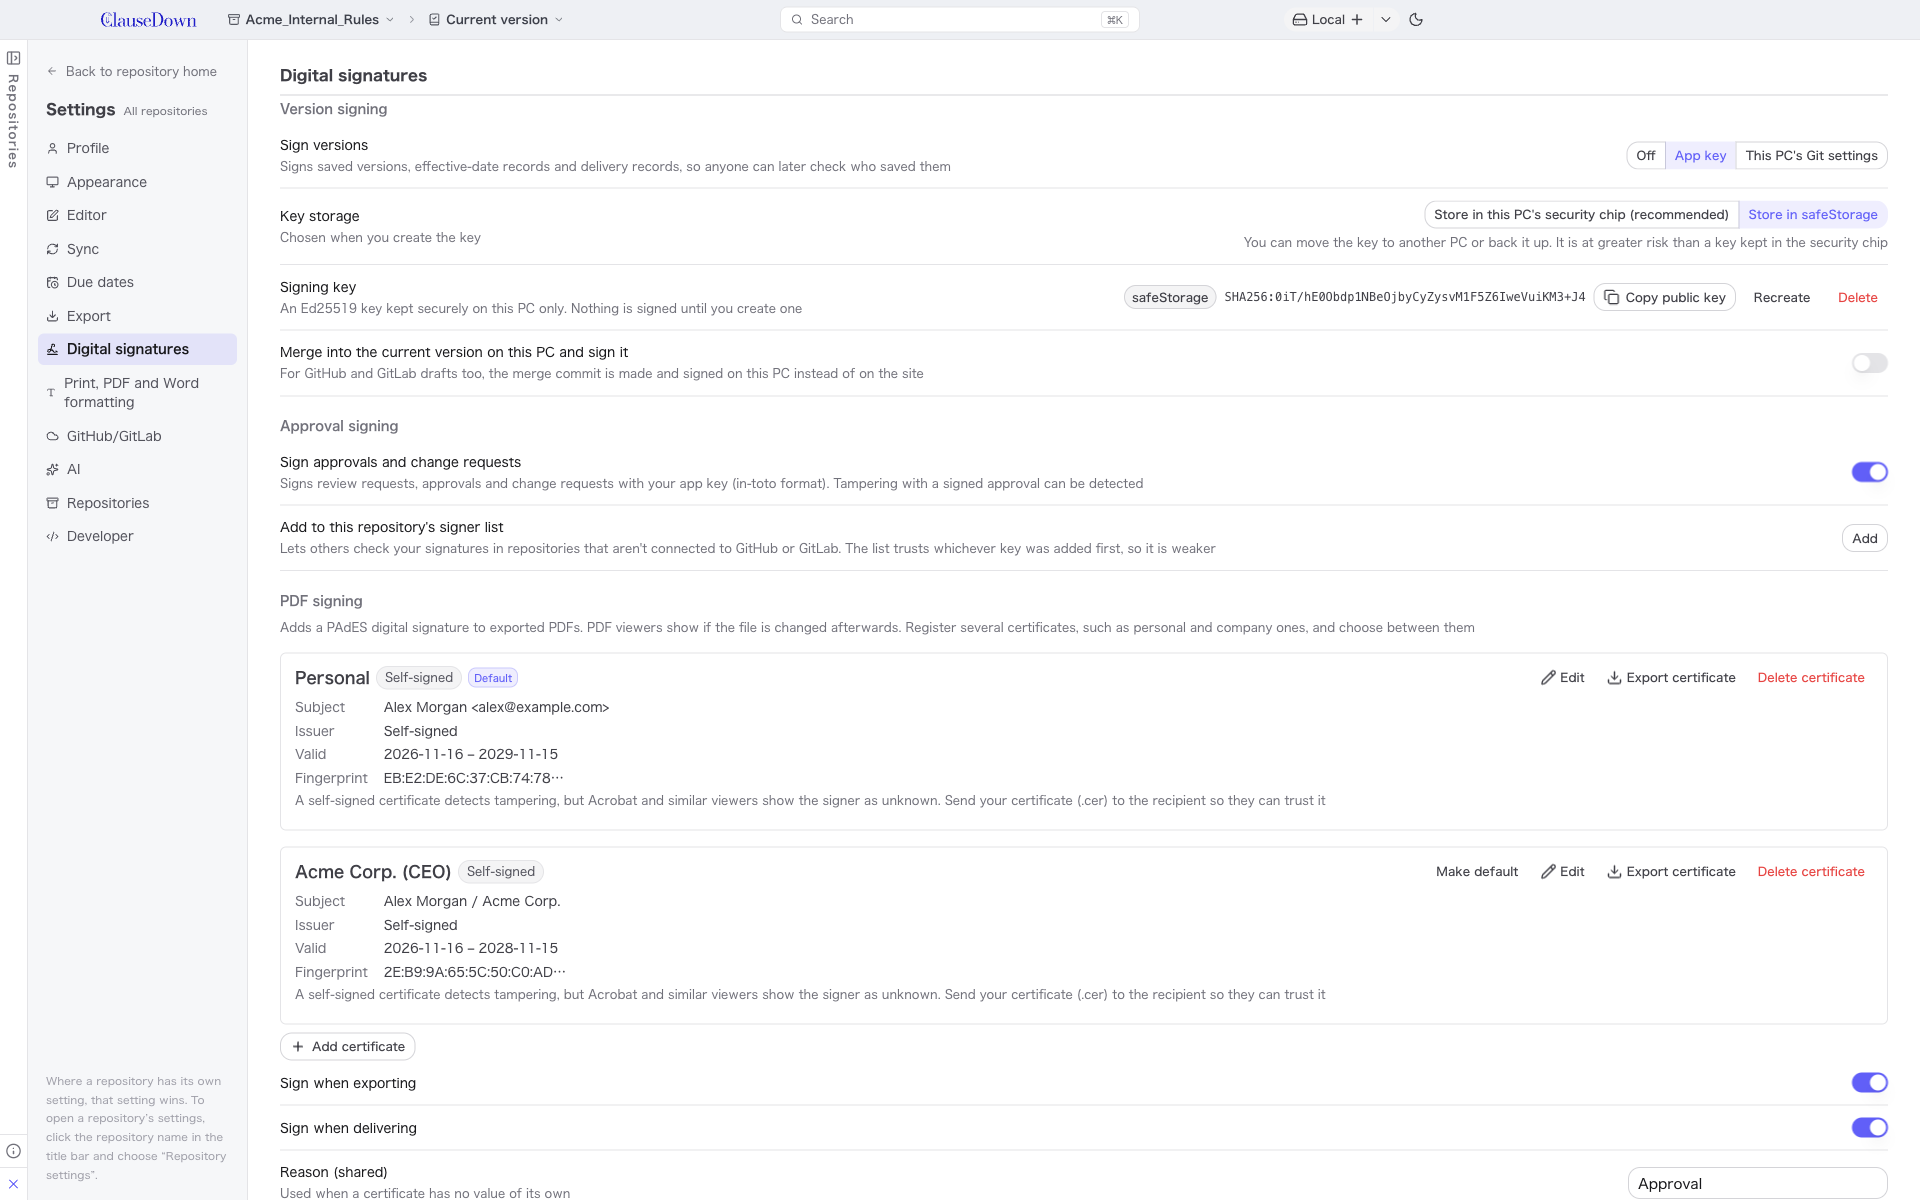
Under Sign versions, choose the key used for signing.
| Option | What it does |
|---|---|
| Off | Versions are not signed |
| App key | Signs with a key the app creates. The key stays on this PC only, in the operating system's secure storage. Nothing is signed until you click Create key |
| This PC's Git settings | Uses Git's user.signingkey and gpg.format and signs with ssh-keygen or gpg. For people who already sign with Git |
Signed items are saved versions, effective-date records, delivery records and merges into the current version.
Key storage: on a PC with a security chip (a Mac with Apple silicon or a T2 chip, or a Windows PC with a TPM), you can choose where the app key is kept when you create it.

| Storage | What it does |
|---|---|
| Store in this PC's security chip (recommended) | The key is generated inside the Mac's Secure Enclave or Windows Hello (TPM). It cannot be extracted, and Touch ID or Windows Hello is required for each signature. On a Mac, one confirmation covers the next 5 minutes. The key type is ECDSA (P-256) on a Mac and RSA on Windows |
| Store in safeStorage | The key (Ed25519) is encrypted and kept in the operating system's secure storage (Electron's safeStorage). You can move it to another PC or back it up, but it is at greater risk than a key in the security chip. No confirmation is asked when signing |
- A security chip key cannot be taken off the PC, even by code running on it. That makes a signed approval evidence that the person at that PC confirmed it.
- If the PC breaks or is lost, the key is lost with it. Create a key on the new PC, then register it on GitHub or GitLab and add it to the approval rules again. Versions and approvals signed with the old key stay valid as long as they fall within the period registered in the approval rules.
- With a security chip key, commits on the records branch are not signed, so you aren't asked to confirm over and over. The approval records themselves are still signed.
- To change the storage, pick the other option and recreate the key.
Registering the key on GitHub or GitLab: once you have an app key, a Register button appears for each signed-in account. After registering, the site shows your versions as Verified.
- The version's email address must be verified on that account. Versions saved with an address that the site doesn't know show as Unverified even when the signature is valid.
- If GitHub won't register the key automatically, copy the public key and paste it as a Signing Key on the page that opens. Sign in again once to grant ClauseDown the extra permission, and registration will work automatically after that.
In the revision history: a shield appears to the right of the author's name.
| Mark | Meaning |
|---|---|
| Green shield | The signature was verified. Hover to see whose key it is (you, a GitHub/GitLab account, or the signer list) |
| Shield with "?" | The signature is valid, but the key is not recognized |
| Red shield | The signature is broken or the version was changed |
Merge into the current version on this PC: GitHub and GitLab drafts are normally merged on the site, so the merge commit carries no ClauseDown signature. Turn this on to create and sign the merge commit on this PC before sending it. Turn it off if the current-version branch is protected and the push is rejected.
Signing approvals
With Sign approvals and change requests on, review requests, approvals and change requests are signed with your app key. The records use the in-toto format (DSSE) and are kept on the records branch. For GitHub and GitLab drafts, a signed copy of each approval sent to the site is kept as well.
- The review window shows Signed or Unsigned next to approvals and change requests.
- Editing the approved version, the approver or the action afterwards makes the record show as Unsigned.
- The merge commit lists approvers in
Approved-by:lines. Signed approvals are marked[signed].
Do not count unsigned approvals: available under Rules in repository settings when approval is required. Only signed approvals then count toward merging, and the merge commit is also created and signed on this PC.
Exporting the key list: under Approval rules in repository settings, Export key list writes the keys from the approval rules, GitHub/GitLab and the signer list in git's allowed_signers format, including the validity periods of approval-rule keys. Set it as follows to check version signatures with git verify-commit outside the app.
git config gpg.ssh.allowedSignersFile <exported file>
Signer list: in repositories that aren't connected to GitHub or GitLab, click Add to this repository's signer list so others can check your key. The list trusts whichever key was added first, so it is a weaker check than keys registered on GitHub or GitLab.
Signing the rules
The repository's Approval rules (whether approval is required, the approvers and so on) start out unsigned, so anyone who can write to the repository can change them. The requester could even swap the approvers or turn off required approval.
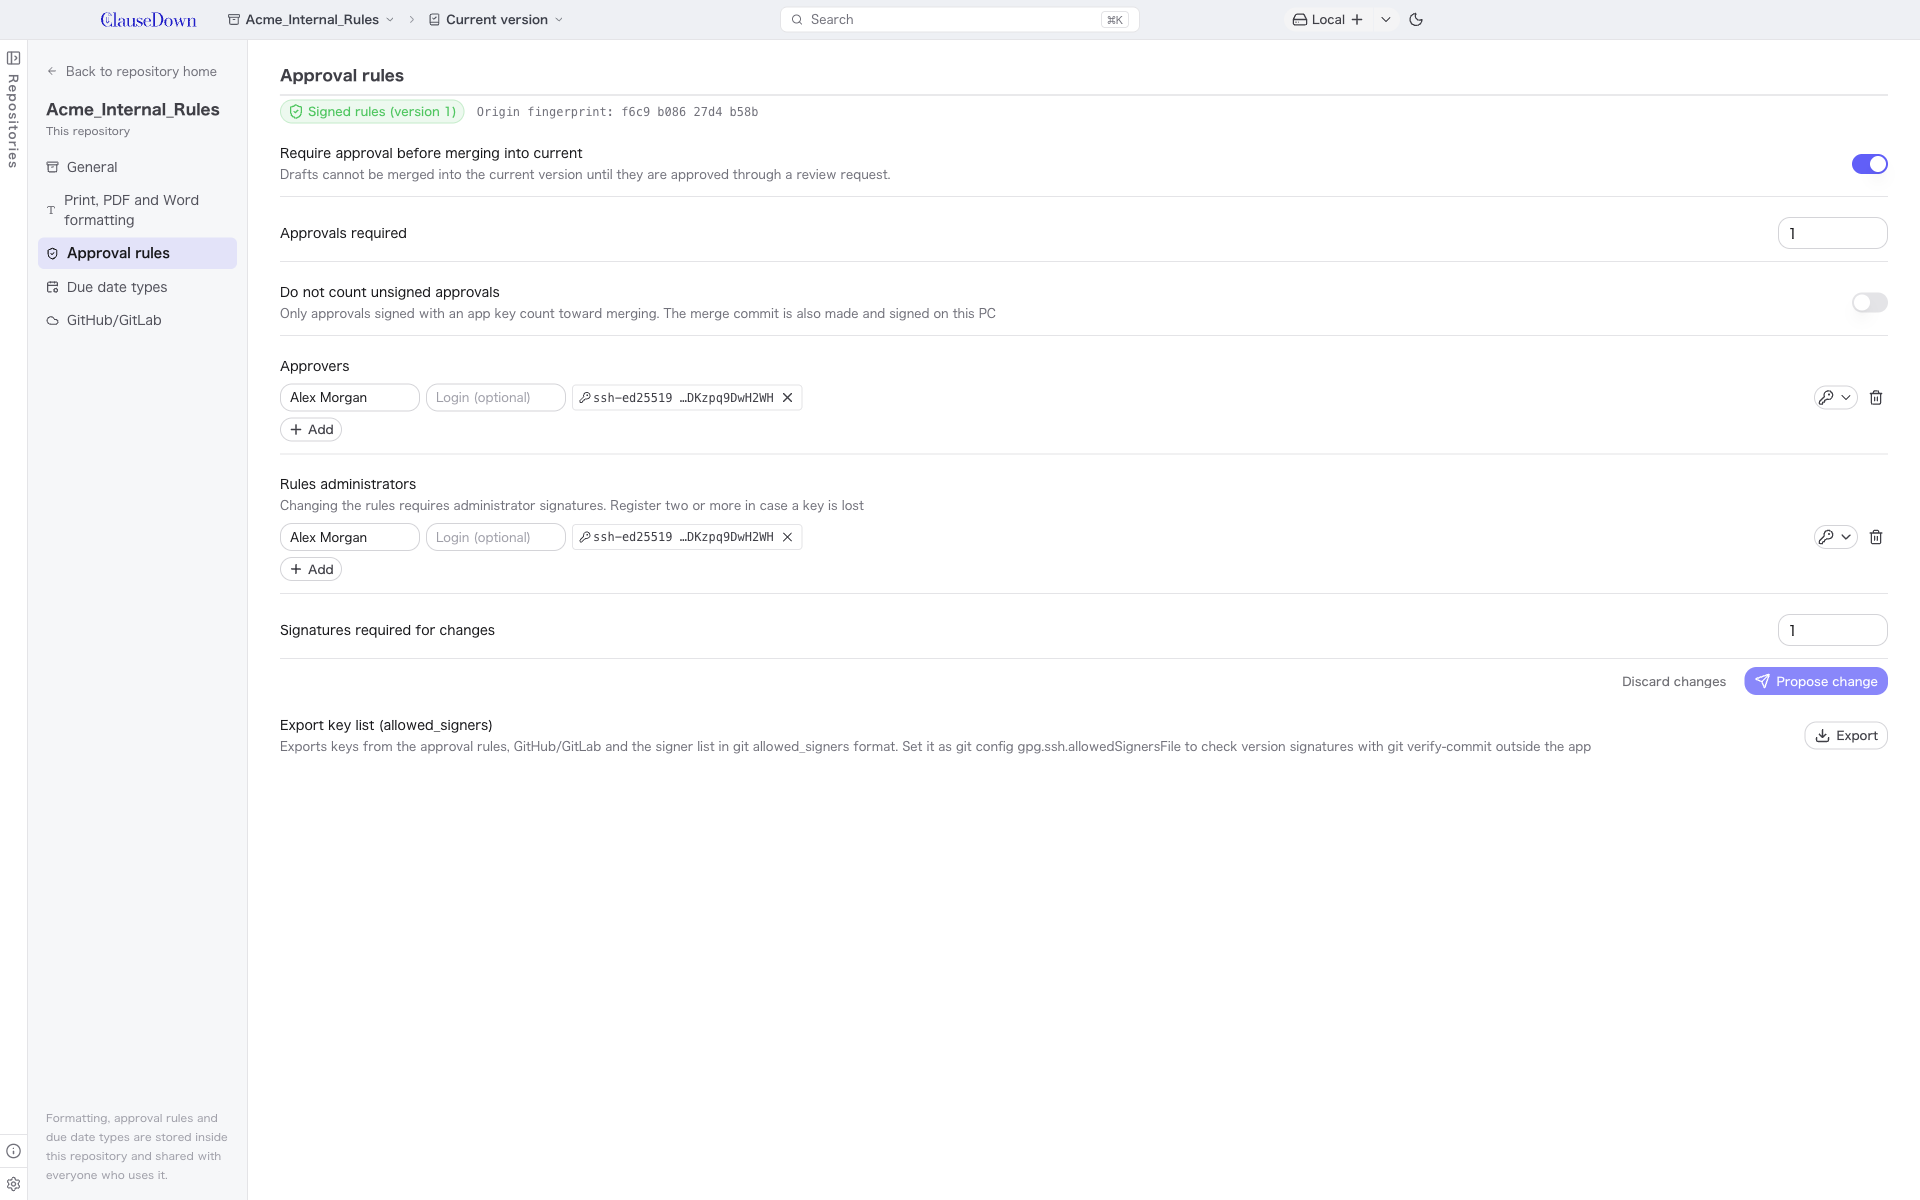
Click Sign the rules to sign the current rules as version 1. After that, every change needs signatures from the rules administrators. The design follows TUF, the standard for securing software updates, and gittuf, which applies it to git.
| Item | What it does |
|---|---|
| Approvers | Register a name, login and public key. For approvers with a key, only approvals signed with that key count, which prevents impersonation |
| Approvals required | Once approvals from this many different approvers are given, the draft can be merged. Repeated approvals from the same person count once |
| Rules administrators | The people who sign rules changes. Register two or more in case a key is lost |
| Signatures required for changes | How many administrator signatures are needed to apply a rules change |
- Proposing changes: edit the rules and click Propose change to create the next version signed with your key. It is applied once enough administrators have signed; until then it appears under Changes awaiting signatures, where other administrators click Sign.
- Shown as awaiting your review: changes you need to sign as an administrator also appear under Waiting for your review on Home. Clicking one opens Approval rules in repository settings.
- Adding keys: the key button on each row adds your own key, a pasted public key, or the signing keys published on GitHub/GitLab. A newly added administrator must also sign that version.
- Key rotation: after recreating your key in Settings > Digital signatures, Apply key rotation appears. It sets an end time on the old key and adds the new one. Approvals signed with the old key before the rotation stay valid as of when they were made.
- Tamper detection: changes without enough administrator signatures, or rules whose content was altered, are not applied, and the last valid version stays in use. Each PC remembers the versions it has verified, and warns (keeping the earlier rules) if the rules are deleted, rolled back or given a new origin.
- Origin fingerprint: version 1 can't be verified by anyone's signature, so it relies on trusting its creator. Check the displayed origin fingerprint with the others.
- For repositories connected to GitHub or GitLab, also use the site's branch protection (required reviewers) so merges are blocked on the site too.
Adding a digital signature to PDFs
Once you register a certificate under PDF signing, exported PDFs get a digital signature. Signatures use the PAdES format (ETSI.CAdES.detached) and don't change how the PDF looks. You can register up to 10 certificates, for example a personal one and a company one.
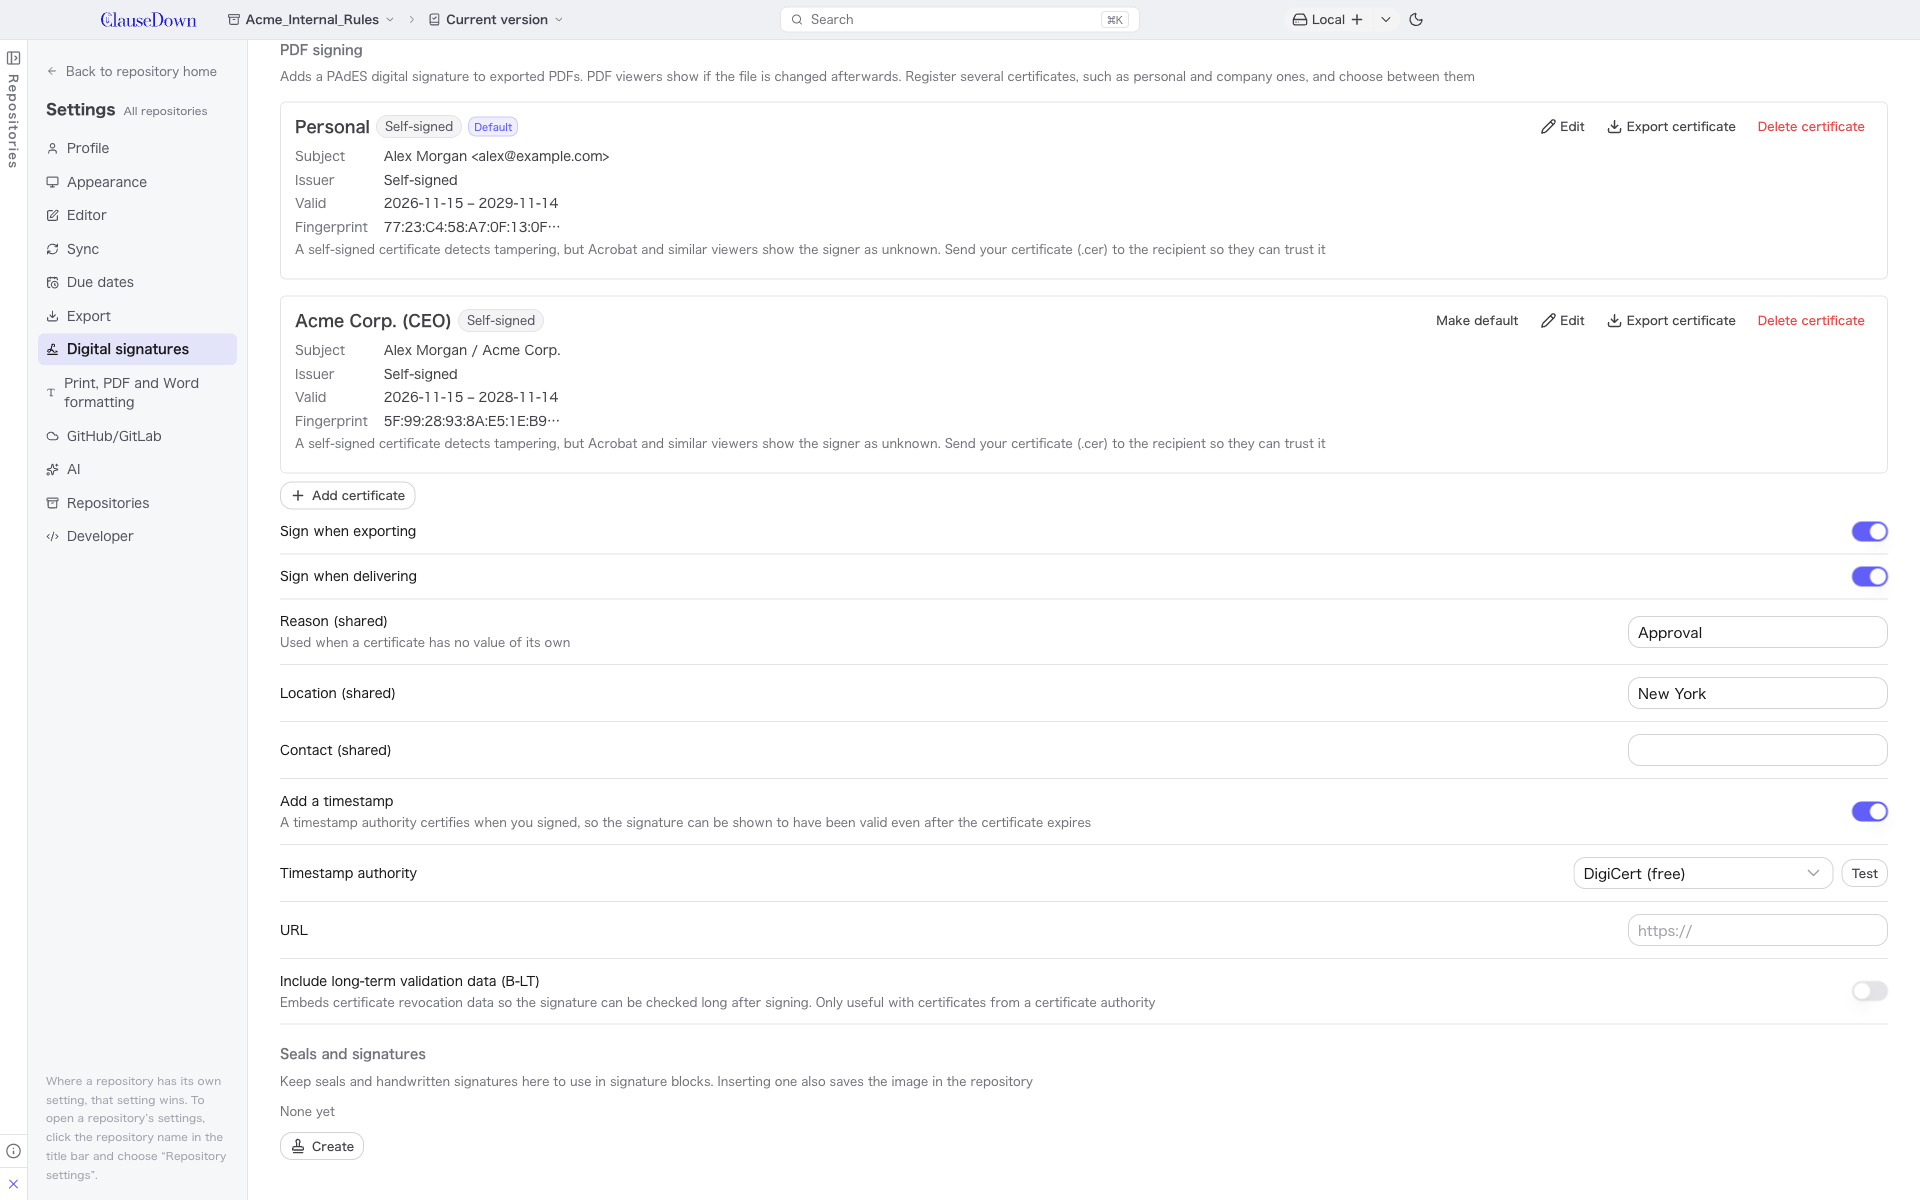
Use Add certificate to register one of three kinds. Give each certificate a name such as "Personal" or "Acme Corp. (CEO)".
| Kind | What it does |
|---|---|
| Certificate file | Imports a certificate issued by a certificate authority (.p12/.pfx). The password is kept in the operating system's secure storage. Japan's commercial registration certificate (商業登記電子証明書) is registered this way too |
| Self-signed | The app creates a certificate. Tampering is detected, but Acrobat and similar viewers show the signer as unknown. Use Export certificate to send the .cer file to the recipient; once they trust it, the signature shows as valid |
| My Number Card | Only one can be registered. See Signing with a My Number Card |
Choosing a certificate: what a signature proves, and how strongly, depends on the certificate.
| Situation | Recommended certificate |
|---|---|
| Contracts you sign as an individual (freelancers, sole proprietors) | My Number Card with a timestamp |
| Contracts between companies, signed by the representative | Commercial registration certificate with a timestamp |
| Contracts signed by staff, or when the other party checks in Acrobat | A certificate from a commercial certificate authority (for example one on Adobe's AATL) |
| Internal checks, or when you only need to detect tampering | Self-signed |
Internal approvals can be recorded with approval signatures instead of PDF signatures. A self-signed PDF can still be submitted as evidence, but you need other evidence that the key belongs to the signer, such as a record of exchanging the certificate with the other party beforehand.
Default certificate and choosing when signing
- Click Make default on a certificate to set the app default. Under General in repository settings, PDF certificate for this repository sets a default per repository. The repository default is saved on this PC only, not in the repository.
- With two or more certificates, Certificate to sign with appears when you export a PDF. The repository default (or the app default if none) is selected; press Enter to confirm. In the delivery window, choose the certificate next to Sign digitally.
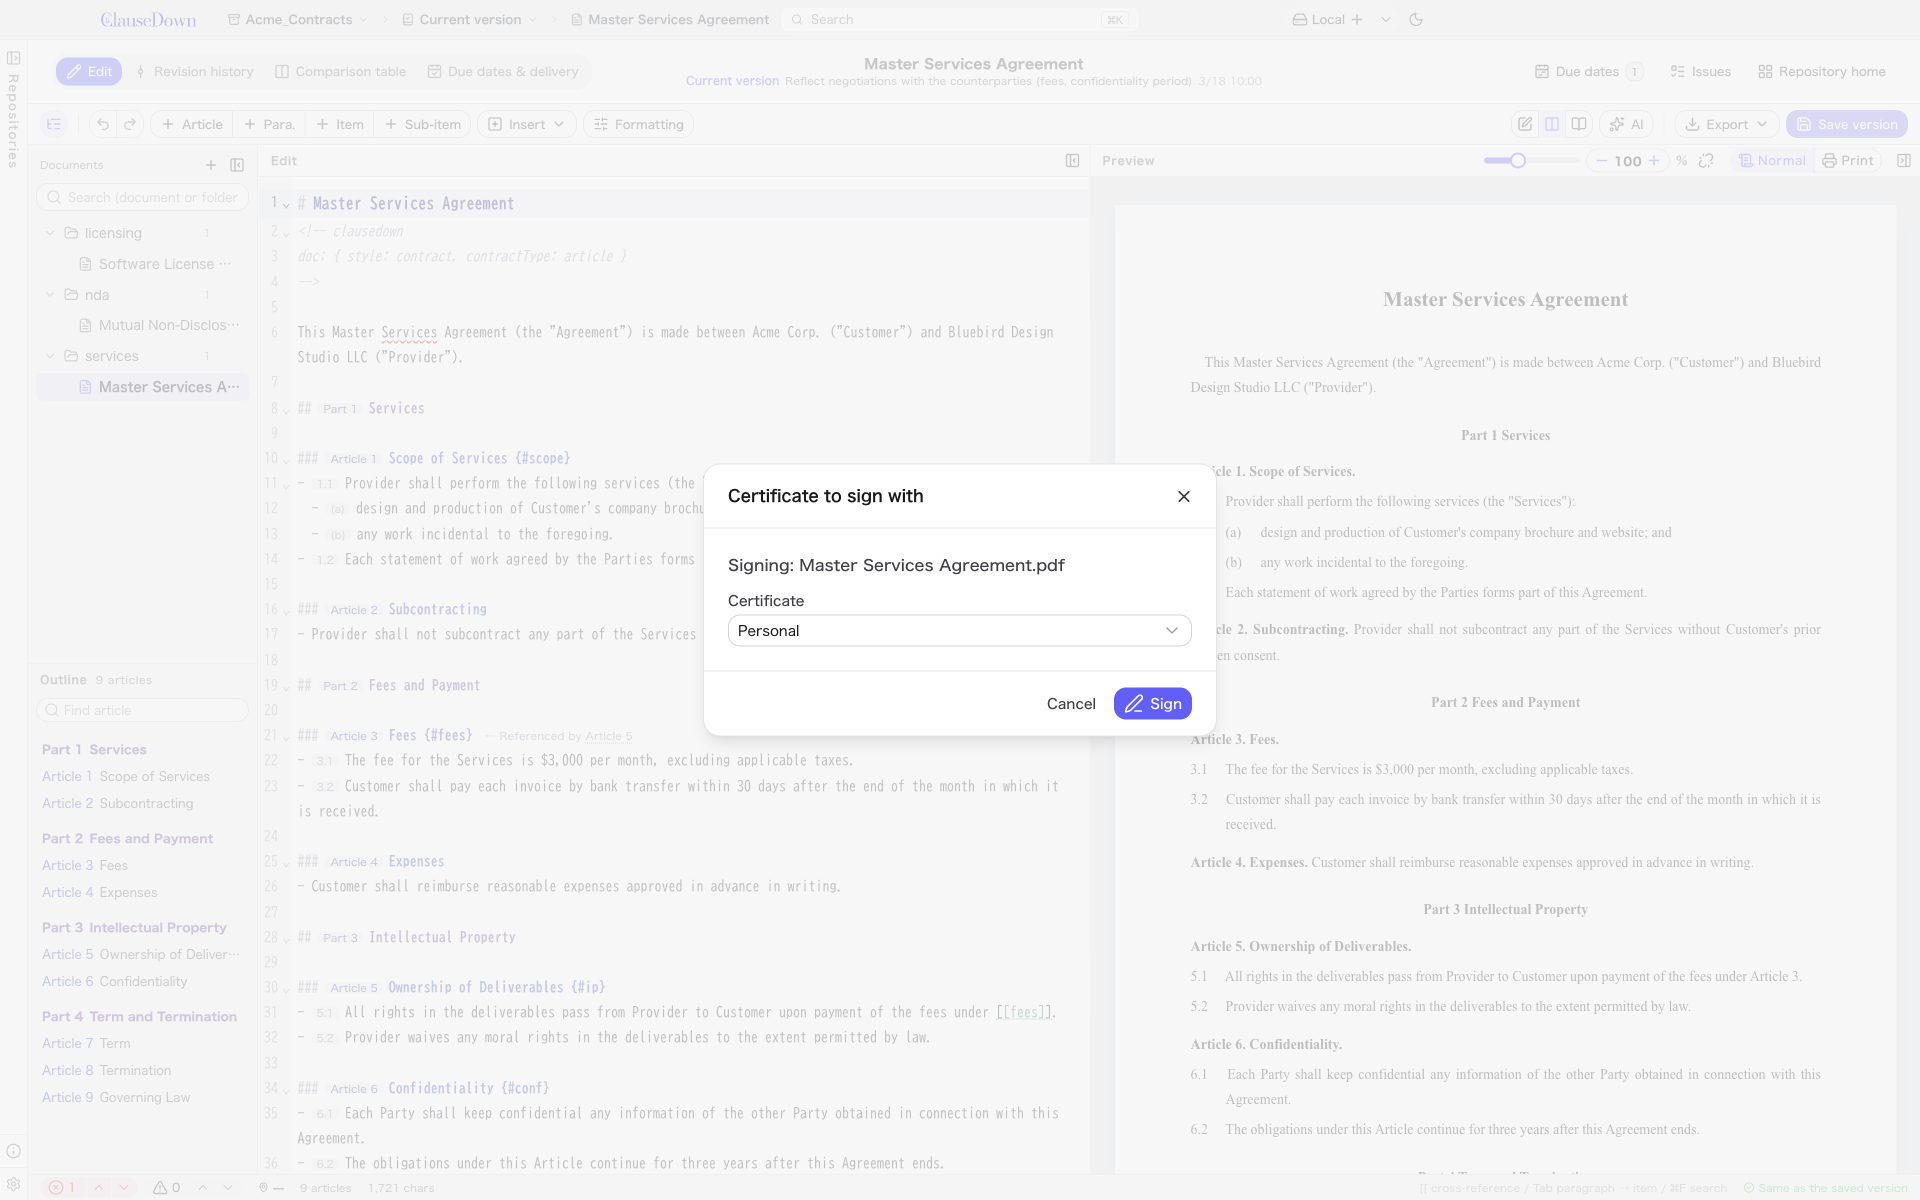
- With Sign when exporting on, PDFs are signed when you export them. With Sign when delivering on, Sign digitally is ticked by default in the delivery window. Word and HTML files are not signed.
- Reason, location and contact: set them per certificate with Edit. Blank fields use the shared values.
- Expiry: certificates that expire within 30 days show Expires soon, and expired ones show Expired.
Timestamps: when on, a timestamp authority certifies when you signed (PAdES B-T), so you can show the signature was valid at signing time even after the certificate expires.
- Choose free DigiCert or FreeTSA, or a timestamp authority certified by Japan's Minister of Internal Affairs (Seiko Solutions, Amano, DiaStamp, GMO GlobalSign). Certified authorities are paid services; enter the URL, ID and password from your contract.
- For Japan's Electronic Books Maintenance Act, choose a certified authority.
- If the authority does not respond, you're asked whether to sign without a timestamp.
Long-term validation data: when on, certificate revocation data is embedded too (PAdES B-LT). Only useful with certificates from a certificate authority.
Saving a returned signed PDF
Save a PDF that the other party signed and sent back to the delivery folder, and add it to the delivery record. The PDF is not changed at all, so their signature stays valid.
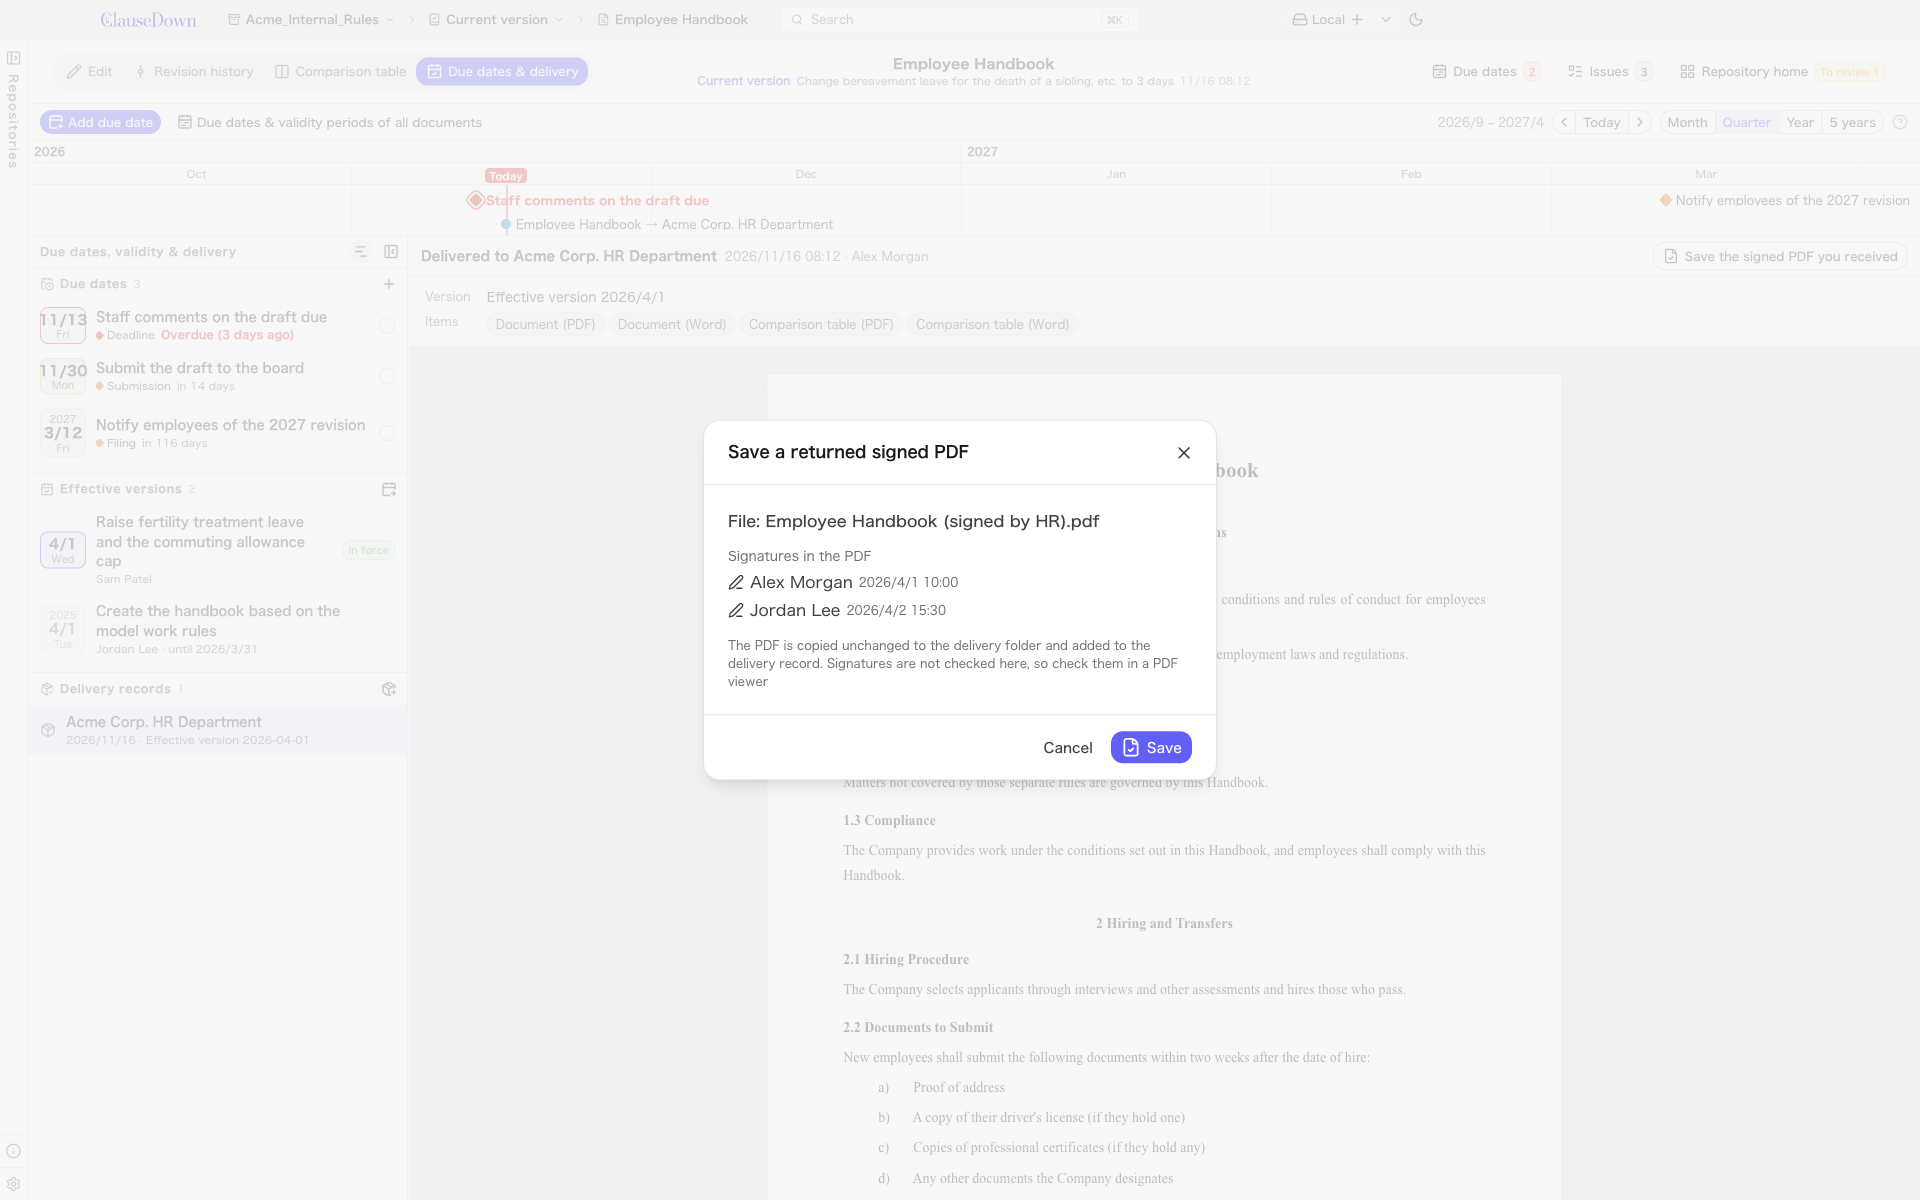
- On the Due dates & delivery tab, open the delivery record, click Save the signed PDF you received, and choose the returned PDF.
- Check the signers and signing times in the PDF, then click Save.
The PDF is copied to the delivery folder as <original name>_received.pdf, and the file name, who saved it, when, and the signers are listed under Signed PDFs received in the record. If the delivery folder isn't on this PC, you choose where to save it. Signatures are not checked here, so check them in a PDF viewer such as Acrobat.
Signing order: we recommend delivering a PDF you have already signed and having the other party sign last. That way the returned PDF carries both signatures. If they sign first and you also need to sign, sign it in a PDF viewer such as Acrobat.
Signing with a My Number Card
You can sign PDFs with the digital signature certificate on a Japanese My Number Card. You need a smart card reader. You don't need to install the JPKI client software.
- Register it with Add certificate > Add My Number Card and put the card on the reader. The certificate list shows the reader and the remaining signing password attempts.
- When you choose the My Number Card while exporting or delivering a PDF, you're asked for the signing password (6 to 16 letters and digits). The password is never saved.
- With one attempt left, you're asked to confirm again. Five wrong attempts in a row lock the card, which can only be unlocked at your municipal office.
- Your four personal details are shared: the certificate contains your name, address, date of birth and sex. Anyone you send the signed PDF to can see them.
- Use a timestamp: the signing certificate is revoked when you move or change your name, and it expires on your fifth birthday after issue. With a timestamp you can still show the signature was valid when you signed.
- No long-term validation data: revocation data for My Number Card certificates is only provided to signature verifiers designated by law, so signatures go up to B-T (timestamp).
- How Acrobat shows it: J-LIS certificates aren't in Acrobat's built-in trust list, so the signer may show as unknown.
- This feature uses myna-card to read the card.
Inserting seals and signature images
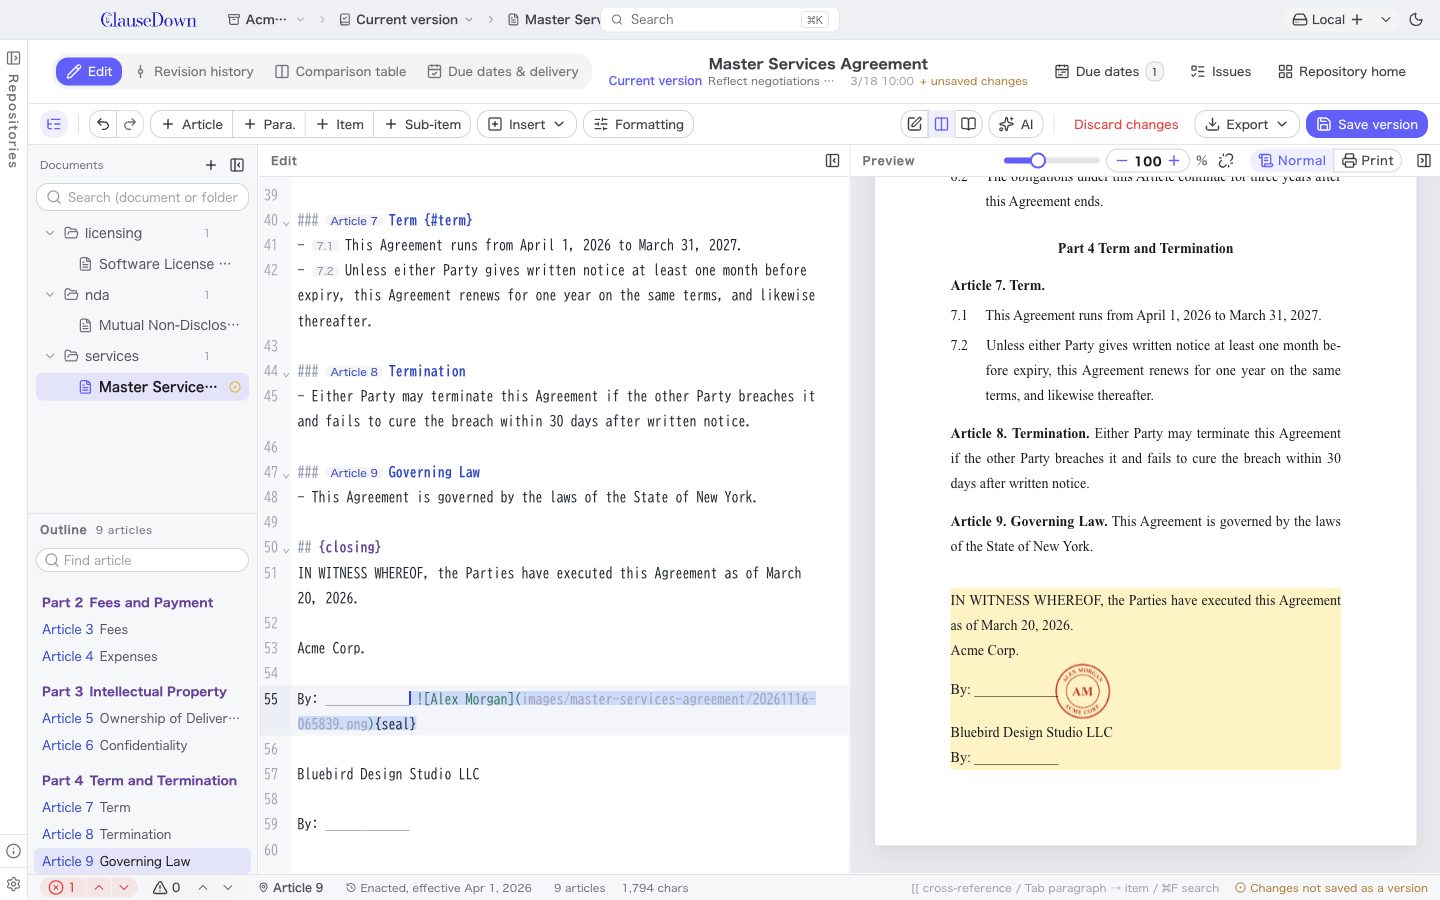
Choose Insert > Seal or signature to place a seal or handwritten signature image in the signature block.
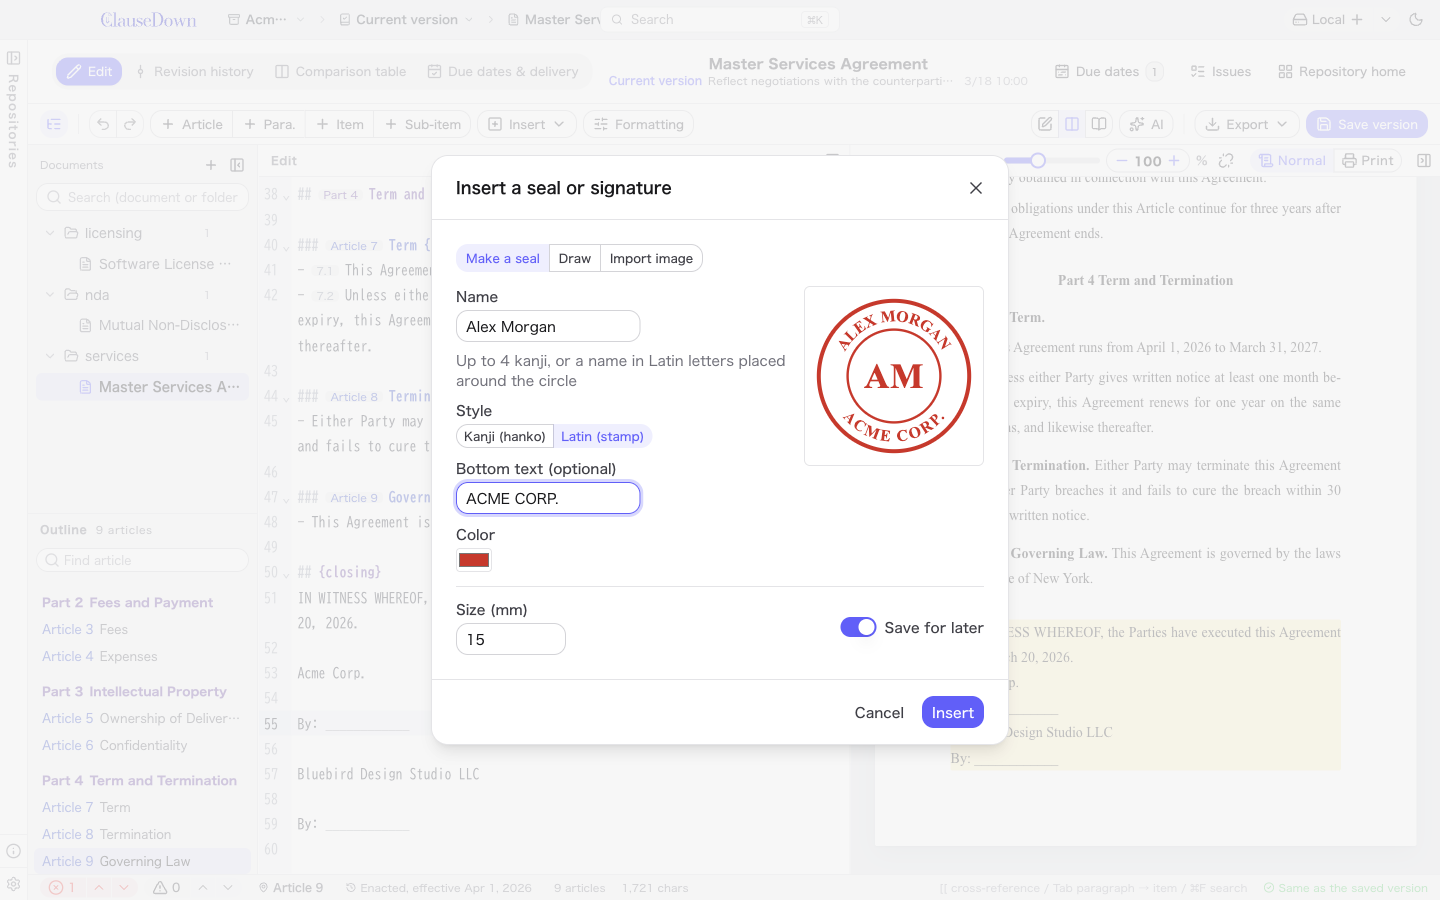
- Make a seal: enter a name to create a round red seal. Kanji names take 1 to 4 characters; 2 or 3 are stacked vertically, and 4 are placed in two columns read from the right. Choose Latin to create a stamp with the name around the circle.
- Draw: sign with your mouse or pen. Pen pressure sets the line width.
- Import image: import a scanned seal or similar. Make near-white areas transparent removes the white of the paper.
- From saved: choose one you kept with Save for later. You can also create them under Seals and signatures in the Digital signatures settings.
The image is saved in images/<document name>/ next to the document, and a line like this is added:
Acme Corp. by Jane Smith, CEO {seal}
| Syntax | Effect |
|---|---|
{seal} |
A 15 mm seal, slightly overlapping the name |
{seal=12mm} |
Sets the seal height |
{sign} |
A 12 mm signature |
{sign=20mm} |
Sets the signature height |
If the cursor is outside the signature block (## {closing}), you're asked whether to insert into the signature block; one is added at the end of the document if there is none. Seal and signature images appear in the preview, PDFs and Word files. In Word they sit after the name instead of overlapping it.